
Every property owner and manager knows that frozen pipes can cause serious issues, but sometimes they play with fire anyway.
For example, one of our past clients was a department store. The property kept having minor freezing in their pipes around low points in outside drains. When the pipe system didn't have a catastrophic burst the first time the pipes froze and thawed, the store figured they'd be ok.
Despite our recommendation that they should take specific steps to maintain their pipes to prevent future freezes, they refused. As a result, the store ended up paying several thousands of dollars in emergency service when the worn pipes finally did freeze and burst.
If they had been proactive in maintaining their system, they could have saved themselves a huge headache and budgeting nightmare.
Make Sure You Don't Get Caught Off Guard!
Download Our Freezing Checklist Today
Not everyone purposely neglects their pipe maintenance. Sometimes, the issues truly do sneak up on you without warning. If you do end up facing an emergency with frozen pipes, there are a few steps you can take right away to minimize the damage.
Action Steps Post-Freeze
Step One: Don’t Overreact!
We understand that the situation is awful and seems like it won’t be resolved anytime soon. But the last thing you want to do is incur more costs by taking the wrong first step or calling a bunch of people to come out and having to pay for unnecessary services.
A good thing to do is take a deep breath and step away from the problem for a moment. Go back and evaluate with a clear head.
Remember: All things can be fixed and property can be replaced. You have insurance for this reason! Once you’ve got a good hold on what exactly happened, and the root of the accident, you can begin to make calls to the necessary people. If you’re not sure who those people are, check out our Who to Call Checklist
Step Two: Access the Main Shutoff Valve
At this point, water is probably still flowing through your system unless you have something in place to cut it off. The second step is getting the main shutoff valve turned off so that you can stop the flow of water.
Locate your main shutoff valve and if it's safe to do so, turn the valve off and check the areas where water was still flowing. This will help down the line by limiting the amount of water that the restoration company will have to deal with and may prevent additional pipes from bursting or other sources of damage.
If you're not sure where your shutoff valve is or if it is unsafe to access, don’t risk it! Call a professional who will come in and know how to get things turned off. It’s not worth putting yourself or anyone else in danger for this step.
Step Three: Documentation
Once the system has been stabilized and the restoration company is on the way, it’s time to document the damages. Ideally, you will have photos, videos, and a detailed description of the items that are in your facility.
If that’s not something you currently have, do your best to take clear photos and document the damage to any systems or items that have been affected. You will end up submitting all these photos and invoices to your insurance company at a later date.
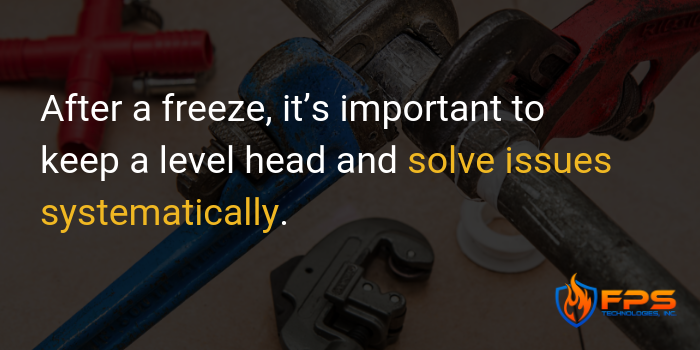
After a freeze, it’s important to keep a level head and solve issues systematically. Depending on the damage your system has incurred, it could take anywhere from 2 to 24 hours to get back up and running. The best way to prevent freezing pipes entirely will always be routine maintenance and inspection of your fire prevention systems. Download our free Freeze Checklist to see whether your pipes are ready to weather the cold.